The Warley Fall
Introduction to The Warley Fall
Welcome to our guide on using and caring for your Warley Fall watering can. As a trusted companion in your gardening journey, your Warley Fall is designed for durability, precision, and effortless use. Whether you're tending to delicate seedlings or giving your established plants a thorough soak, knowing how to properly use and maintain your watering can will ensure it continues to serve you beautifully for years to come.
In this guide, we'll share essential tips on how to make the most of your watering can, from achieving the perfect flow to keeping it in pristine condition. After all, a well-cared-for watering can is as much a part of your gardening experience as the plants themselves.
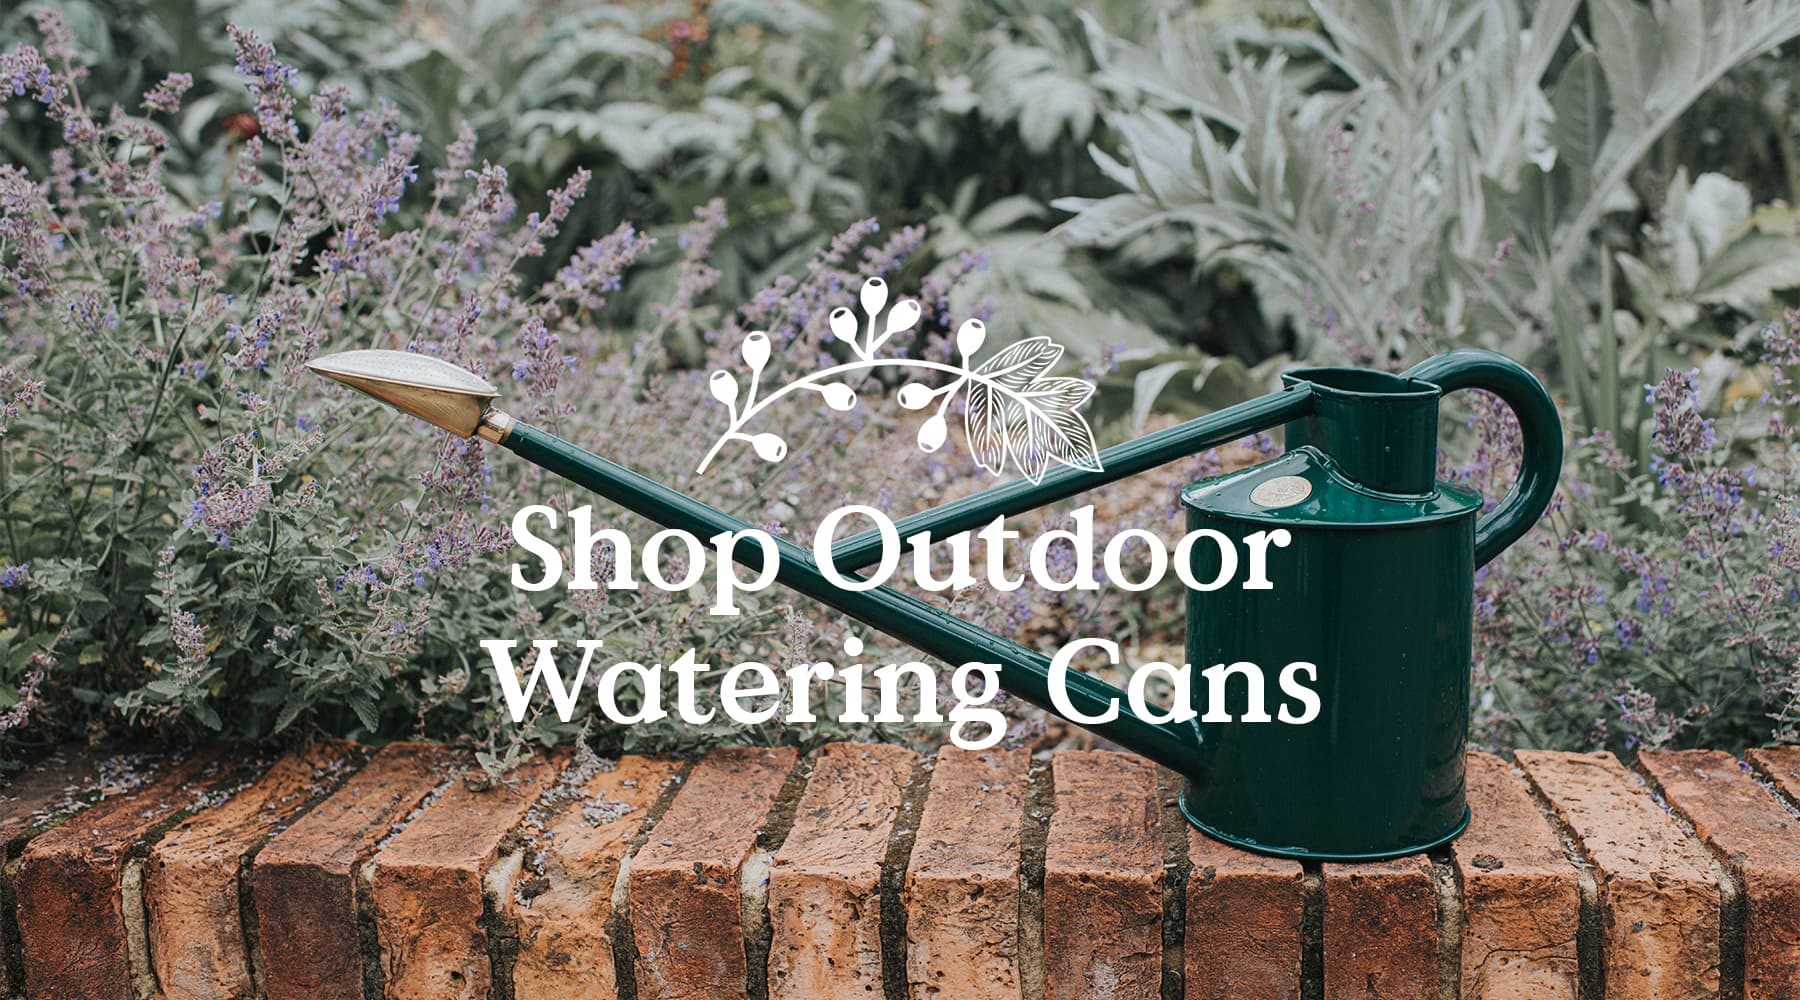
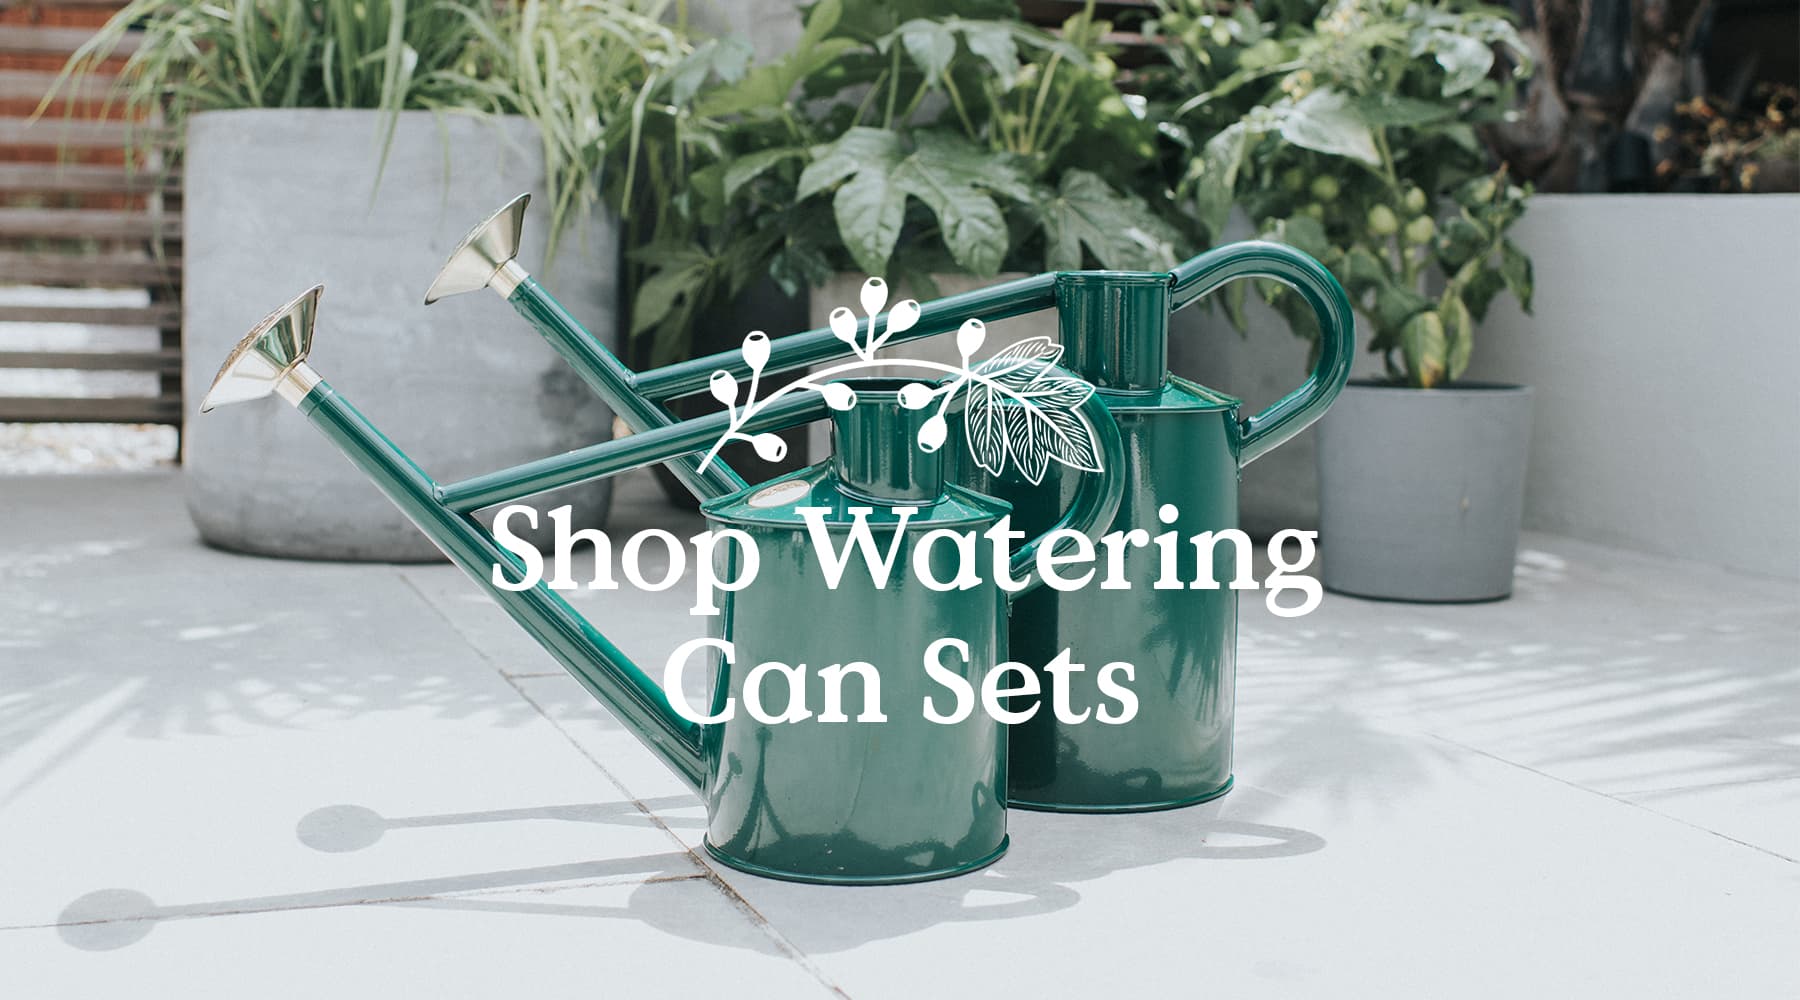
This product guide is for The Warley Fall in capacities One and Two Gallon. To ensure you're in the right spot, take a moment to compare your product with the images below. Please note, the product shown might be a different colour than yours, but the design should match perfectly.

Key Points
To kick things off, let’s cover a few essential tips about your watering can. These handy insights come straight from the questions we’re most often asked—and we hope they’ll save you a bit of time and effort along the way!
Where’s my rose?
Every Warley Fall watering can comes complete with a rose, carefully tucked away in the packaging. It’s easy to miss, so if you haven’t spotted yours, let’s take a closer look!
The rose is nestled inside the triangular outer box that holds your watering can. Specifically, you’ll find it in a smaller cuboid box secured near the handle. It’s cradled within a piece of cardboard designed to keep your can safe and snug during its journey to you.
If you’re still unable to locate it, we recommend giving the packaging one more thorough check—your rose is likely waiting patiently to be discovered!
Don’t let me freeze!
A friendly reminder to keep your watering can safe during frosty weather—never leave water inside it when temperatures might dip below freezing. Freezing water can wreak havoc on your can, often damaging the base or spout, and unfortunately, this type of damage isn’t covered under warranty.
Here’s what happens: when water freezes, it expands. With nowhere to go, this expanding ice pushes against the base of the can, creating a dome-like deformation. Repeated freezing and thawing can eventually cause the base to crack or split, resulting in leaks. The spout isn’t safe either—ice can expand inside, splitting the seam and causing further leaks.
To protect your can, always empty it after use, especially in the winter. Store it in a dry spot where it won’t collect water, and you’ll keep your trusty companion in top shape for years to come!
Oh no, my rose has stopped working!
Check your spout
First, take a good look at the inside of the spout for any blockages. A clear, unobstructed flow of water is essential for the rose to perform at its best. Empty your can of water and hold the neck of your can (the opening where you fill it) up to the light, and peer down the spout. Be careful not to get too close—protect your eyes as you do, just in case anything comes loose! You should be able to see straight through to the base of the can, with the light shining clearly through. If the view is obstructed, you’ve likely got a blockage. Common culprits include curious snails (they do love to hide in there!) or a buildup of organic matter, like leaf mulch or sludge from a water butt.
To clear it, find a long, slim object - like a garden cane - that can fit into the spout. Gently use it to dislodge the blockage. Alternatively, you can press a running hosepipe to the spout and let the water flush it out. Once clear, your can should pour effortlessly, with water streaming out smoothly, just like a hose (but better 😉).
If your spout is clear but the rose still isn’t performing as it should, don’t worry - read on to learn how to get it back to its best!
Cleaning a Rose
Over time, dirt, limescale, and other foreign particles can sneak into the water you use and clog your rose’s delicate holes. This can affect its performance, disrupting the beautiful, fine spray Haws watering cans are known for. Instead of a gentle shower, you might notice dribbling streams that spoil the spray pattern—something we call "face washout."
But worry not! With a little care, you can restore your rose to its former glory. Here’s how:
Step 1: The Old Shake and Flush
Take your rose to an outdoor tap, or a sink situated where you can safely make a mess! Hold the rose under the running water filling it where the rose attaches to the watering can (we call this a ferrule). Let the water fill the rose, then remove it from the tap, swiftly covering the ferrule with your thumb. Give it a good, quick, and vigorous shake. Turn the rose upside down, pour out the water from the ferrule, and see what debris comes out. If you notice organic matter—like leaf mulch or sludge—repeat this process a few times to see if it clears the blockage.
Step 2: Submerge and Swirl
If shaking alone doesn’t do the trick, or the water comes out too fast for you to see if anything is inside, fill a sink or basin with water and fully submerge the rose. Give it a good shake underwater, making sure not to cover the ferrule. Watch for particles being released and continue until the water runs clear. If you notice a lot of muck collecting in the bowl, you may need to change the water and repeat the process to see when the rose is clean.
Step 3: Descaling Treatment
If the rose is still underperforming, limescale may be the culprit. Here’s how to clean it:
- Use a kitchen descaler (following the product’s instructions and safety guidelines – these typically go like this:).
- Boil water and pour it into a suitable container.
- Place the rose in the hot water and let it soak for around 8 minutes.
- Carefully pour the water away and rinse the rose thoroughly.
Remember to wear gloves for safety, and always handle hot water with care.
Step 4: Clearing by Hand
For particularly stubborn blockages, a manual clean may be necessary:
- Use a fine needle, such as a sewing needle or safety pin. Gently insert the sharp end into each hole of the rose until you feel light resistance - be careful not to push too far, as this could damage the holes.
- Start at the 12 o’clock position and work your way around, following the circular pattern of holes. You can either move from the centre outward or from the edges inward- whichever feels most comfortable.
- This step can take a little time, so we recommend putting on a favourite radio show - Gardeners' Question Time is a beloved choice here at Haws!
Once all the holes are cleared, test your rose again. You should now be greeted with the lovely even spray that makes your Haws can such a joy to use.
With these simple steps, your rose will be back to its best in no time, ready to provide your plants with the gentle care they deserve. 🌿


